

Are you a road bike enthusiast looking to learn how to change your tires? Look no further! In this blog post, we will guide you through the step-by-step process of changing both the inner and outer tires on your road bike. Whether you're a beginner or an experienced cyclist, this guide will help you become a pro at changing your bike tires.
Why should you change your bike tires?
Before we dive into the process, let's understand why it's important to change your bike tires regularly. Over time, tires wear out and lose their grip, which can affect your bike's performance and safety. By changing your tires, you can ensure optimal traction, better handling, and a smoother ride.
Step 1: Gather the necessary tools
Before you begin, make sure you have the following tools handy:
- Tire levers
- New inner and outer tires
- A bike pump
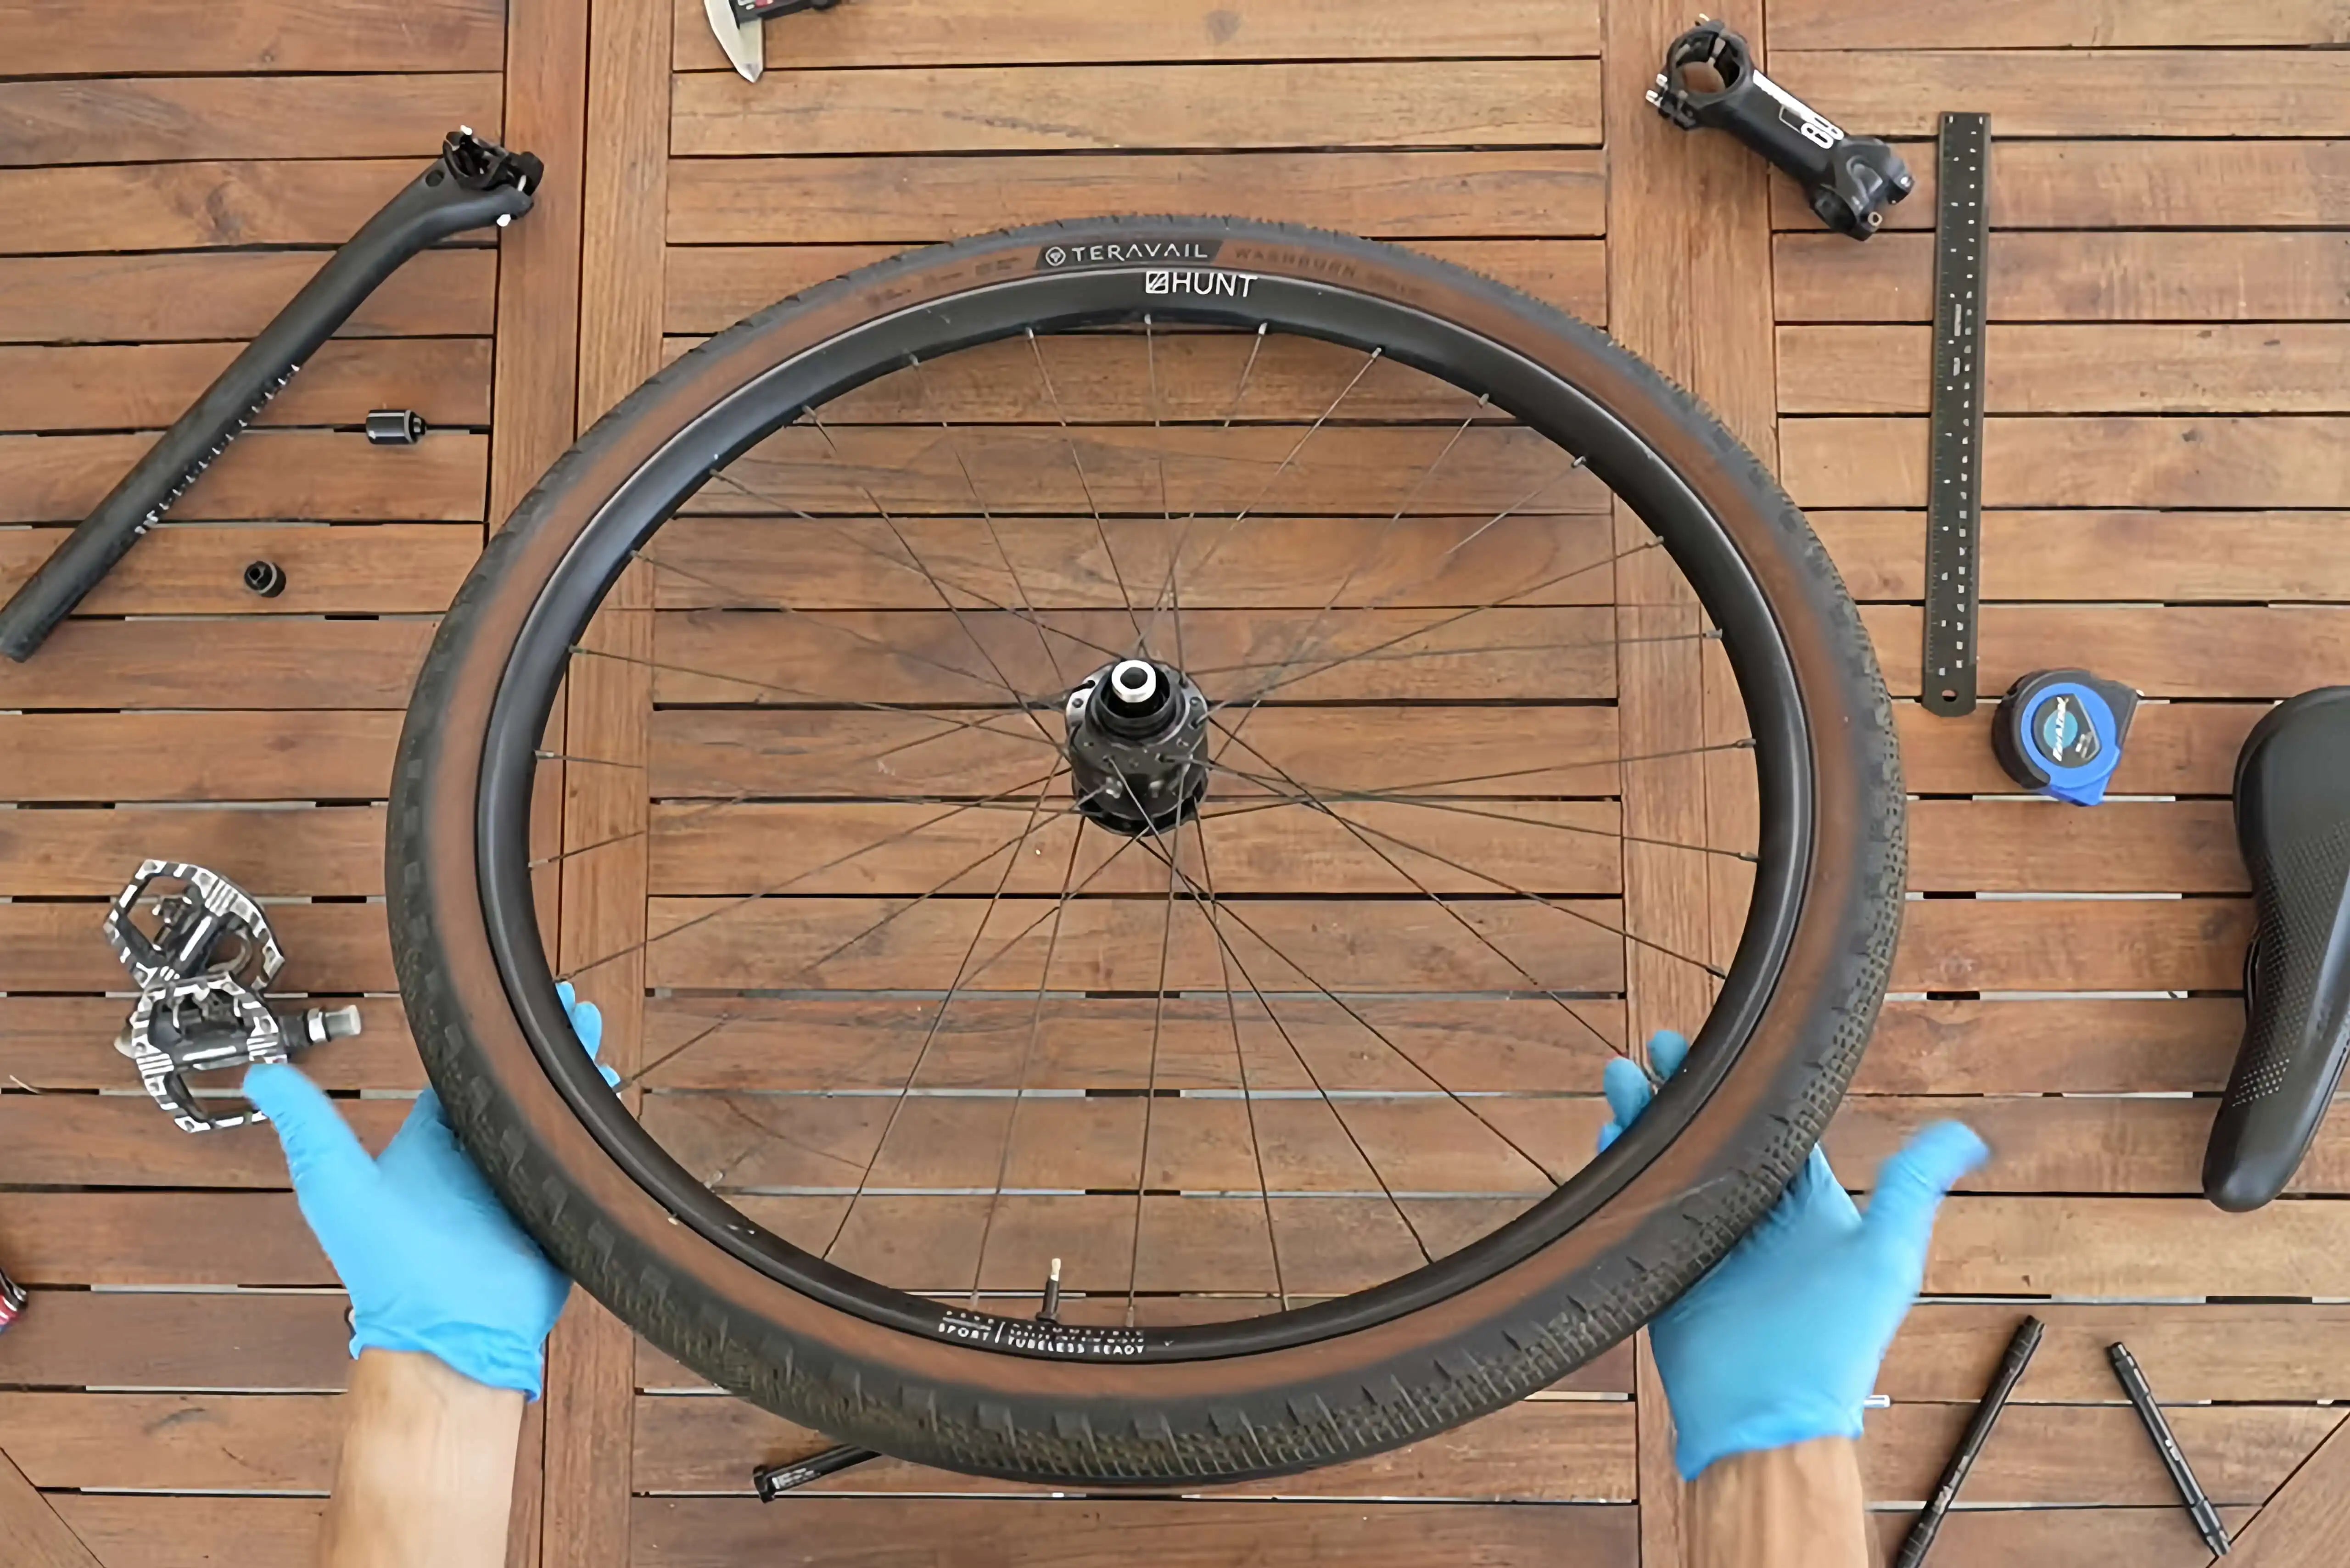
Step 2: Remove the old tires
Start by deflating the tire completely using the valve. Once deflated, use the tire levers to carefully remove the tire from the rim. Begin at one side of the tire and work your way around until the entire tire is off the rim. Be cautious not to damage the inner tube in the process.
Step 3: Install the new inner tire
Inspect the rim and make sure it's clean and free from any debris. Take the new inner tire and insert it into the rim, making sure it sits evenly all the way around. Use your fingers to push the inner tire into place, ensuring it's not twisted or pinched.
Step 4: Mount the outer tire
Now it's time to mount the outer tire onto the rim. Start by aligning one side of the tire with the rim and use your hands to push the tire onto the rim. Once one side is in place, work your way around the rim, using your hands to push the tire onto the rim. Avoid using tire levers at this stage to prevent damaging the inner tube.
Step 5: Inflate the tire
After the outer tire is mounted, it's time to inflate it. Use a bike pump to gradually inflate the tire to the recommended pressure, which is usually indicated on the sidewall of the tire. Make sure the tire is evenly inflated and check for any bulges or uneven spots.
Step 6: Check for proper installation
Once the tire is inflated, give it a thorough inspection. Ensure that the tire is seated properly on the rim and that there are no visible gaps or twists. Spin the wheel to check for any wobbling or rubbing against the brake pads. If everything looks good, you're ready to hit the road!
Changing your bike tires may seem daunting at first, but with practice, it becomes a quick and easy task. By following these steps, you can confidently change both the inner and outer tires on your road bike, ensuring a safe and enjoyable riding experience. Remember to regularly inspect your tires for wear and tear, and replace them as needed. Happy cycling!

Laisser un commentaire
Tous les commentaires sont modérés avant d'être publiés.
Ce site est protégé par reCAPTCHA, et la Politique de confidentialité et les Conditions d'utilisation de Google s'appliquent.